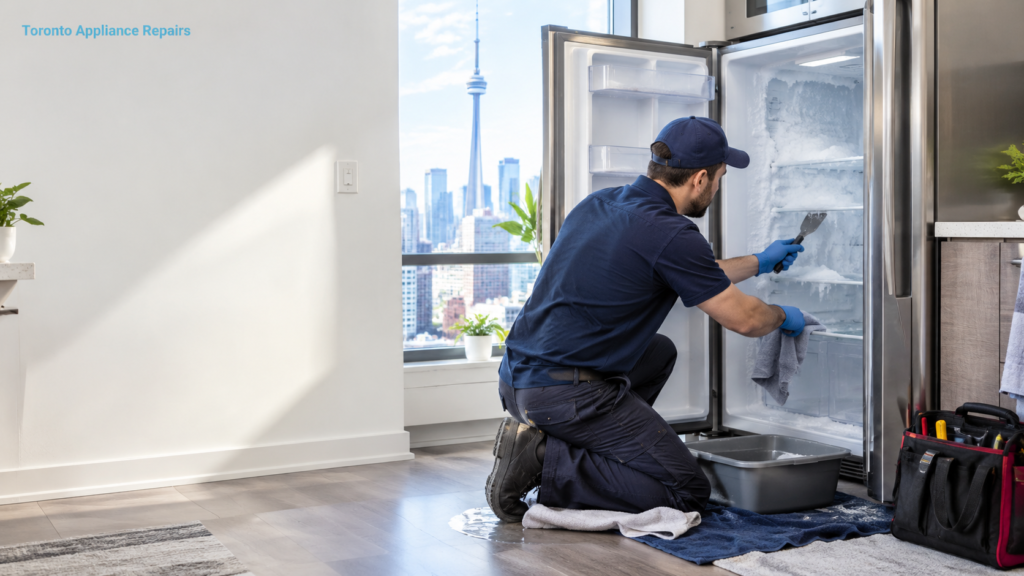
Defrost the freezer compartment in Ontario when ice buildup reaches ¼ to ½ inch thick — roughly every one to two months for most households. Defrosting a freezer takes two to 24 hours depending on ice thickness. Toronto Appliance Repairs put together this guide for Ontario homeowners who want to defrost safely, without damaging the plastic liner or losing frozen food.
Key takeaways
- Defrost when ice reaches ¼ to ½ inch — ice build up past that point forces the freezer to waste energy and can obstruct temperature sensors and air vents.
- Defrosting a freezer takes two to 24 hours; thick ice extends that to the full 24 hours, while light frost usually clears in two to three hours.
- Use one tablespoon baking soda dissolved in four cups of hot water to wipe down the freezer interior after defrosting — it removes odour and residue in one step.
- Frost builds up from temperature fluctuations inside the freezer: warm food stored directly, a worn door seal, and poor air circulation all accelerate ice build up.
- Never use an ice pick or sharp objects on ice — they can puncture the plastic liner and cause refrigerant leaks.
Before you start
Manual defrosting is a practical DIY task for most Ontario homeowners and takes a few hours of preparation.
If frost build up returns within two to three weeks of a previous defrost, a mechanical fault is likely the cause. Book a refrigerator repair service rather than repeating the process — this is not a routine ice accumulation problem.

What you need
- Old beach towels to soak up melting water on the floor
- A cooler or insulated bags to store frozen food
- A plastic scraper (never a metal scraper or ice pick)
- A soft cloth for wiping the freezer walls
- Baking soda solution: one tablespoon in four cups of hot water
- An optional bowl of hot water to speed up the melting process
Safety and prerequisites
Unplug the refrigerator before starting.
Do not use a hair dryer inside the freezer — electricity and standing water in an enclosed space is a shock risk.
Never force a scraper or use sharp objects on ice build up. Puncturing the plastic liner voids most warranties and can result in refrigerant loss.
Keep the drainage hose clear during defrosting so melt water exits properly rather than pooling beneath the appliance.
Step-by-step: How to defrost your freezer
Defrost every one to two months, or whenever ice builds to ¼ inch thick.
| Ice thickness | Expected defrosting time |
|---|---|
| Under ¼ inch | 1–2 hours |
| ¼ to ½ inch | 2–4 hours |
| Over ½ inch | 8–24 hours |
Step 1: Empty the freezer and unplug
Remove all frozen food and pack items in a cooler or insulated bags. Unplug the appliance from the wall. Place old beach towels around the base to catch water as ice melt begins. Leave the freezer door open so room temperature air can start the defrosting process. Cold surfaces slow melting — clearing the freezer quickly gives warm air more room to work.
Step 2: Use warm water to speed up the melting process
Place a bowl of hot water on a lower shelf inside the freezer compartment. Keep the freezer door fully open. Warm, moist air enters and the radiant heat from the bowl work together to accelerate ice melt. Replace the hot water every 20 minutes as it cools. A fan positioned near the open door circulates warm air and cuts defrosting time noticeably. Defrosting usually takes about one to two hours for light ice with this method.
If it does not work the first time
If ice is not releasing from the freezer walls after an hour, confirm the door is fully open — partial angles restrict warm air circulation. Replace the bowl of hot water and check again after 30 minutes. Ambient temperature affects the defrosting duration; a cold laundry room or garage slows the process significantly.
Most common cause
The most common reason defrosting stalls is thick ice — over ½ inch — from skipped defrost cycles. Ice at that thickness can extend defrosting time to the full 24 hours. A chest freezer packed densely holds cold surfaces longer, slowing the melting process even with the door open and warm water in place.
Stop here if you see this
If the freezer walls feel warm to the touch or you hear a hissing sound during defrosting, stop immediately and unplug the unit. These are refrigerant leak symptoms — call a technician rather than continuing.
Step 3: Remove remaining ice and clean the interior
Once most ice has melted, use a plastic scraper to gently clear remaining pieces from the freezer walls.
Use the baking soda solution — one tablespoon in four cups of hot water — and a soft cloth to wipe down the interior, including the freezer door gasket and air vents.
Ice buildup can obstruct temperature sensors and vents; clearing those areas thoroughly is what makes the defrost worthwhile, not just removing visible ice from the freezer walls.
To keep ice from returning faster than it should, follow the guidance on keeping your fridge clean between defrost cycles.
Step 4: Dry completely and restore power
Wipe the freezer interior with a dry soft cloth until completely dry — no moisture remaining on the walls or floor.
Plug the appliance back in and wait 15 to 20 minutes for the temperature to return to its desired setting before placing frozen items back on the shelves.
Check that the freezer door closes and seals properly. A door that does not seal is the most common cause of frost build up returning quickly after a complete defrost.
When DIY stops being sensible
Manual defrosting handles ice from normal moisture accumulation. It does not fix the mechanical faults that cause ice to return sooner than it should.
If frost build up returns within two to three weeks of a complete defrost, the defrost heater, thermostat, or timer may have failed. Ice forming on the back wall behind a panel — rather than generally across the freezer walls — points to an evaporator problem.
A refrigerator that feels warm on the exterior cabinet while the freezer accumulates ice suggests a compressor or sealed system fault.
When that is what you are dealing with, a refrigerator repair service is the right call — repeating the defrost cycle every few weeks wastes energy and delays a repair that gets more expensive over time.
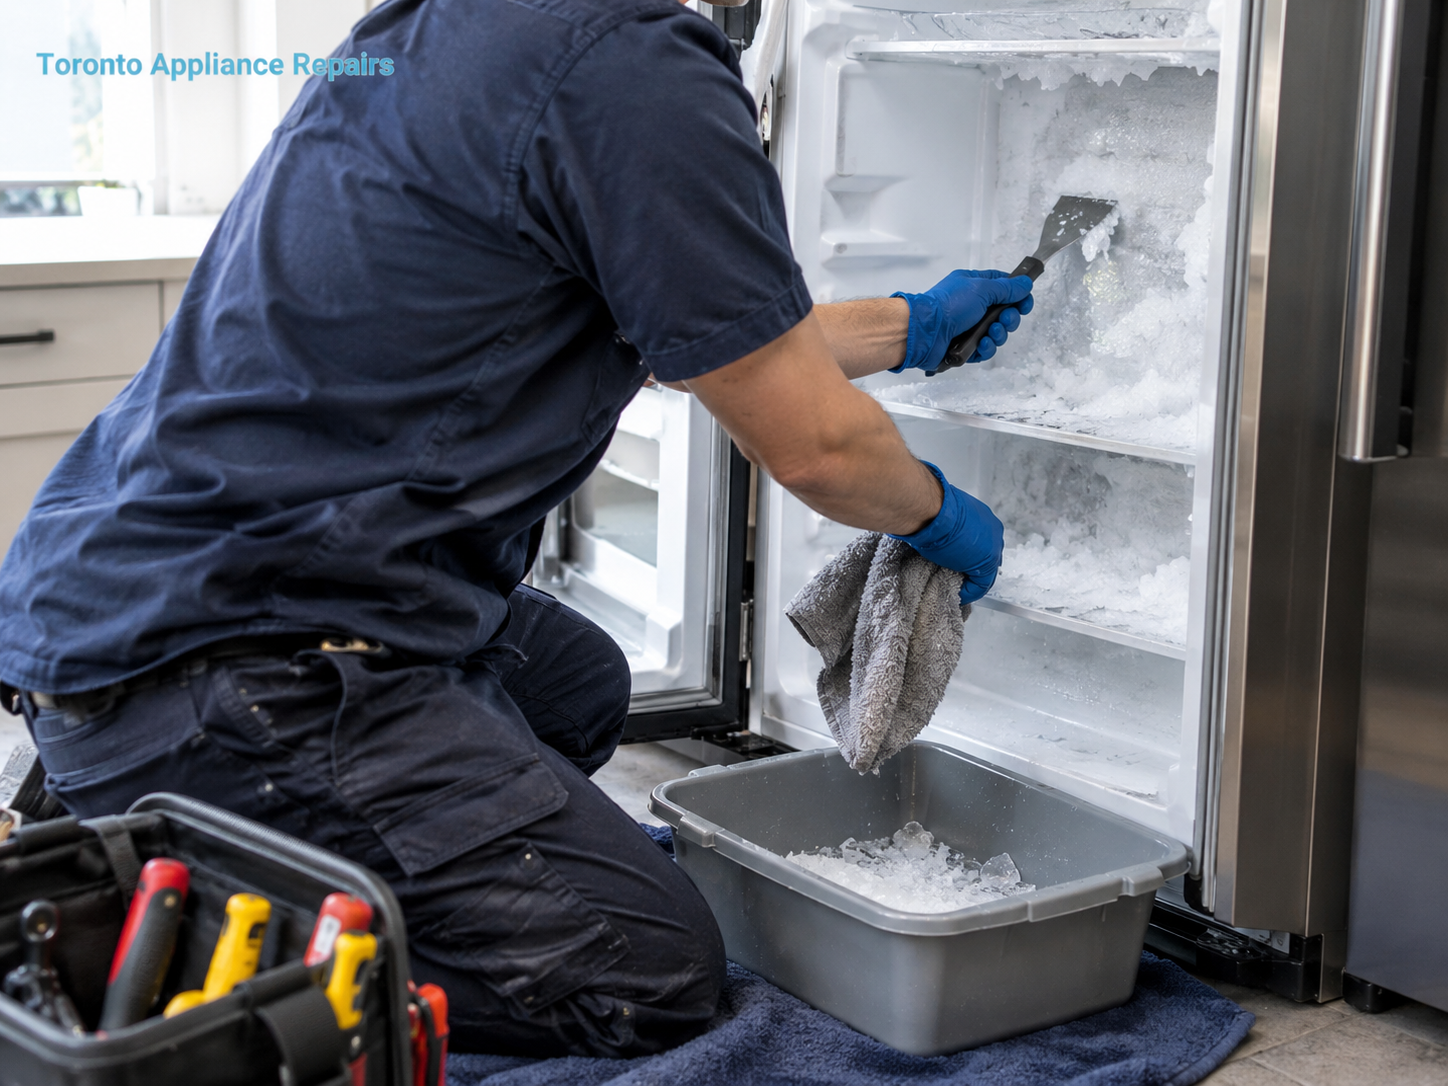
What a Toronto professional does differently
Toronto Appliance Repairs technicians test the defrost thermostat, heater, and timer with diagnostic equipment — not visual inspection alone.
Manual defrosting removes ice. A diagnostic visit identifies why the ice returned.
Technicians carry replacement parts for major Ontario appliance brands — LG, Samsung, Whirlpool, GE, and Frigidaire — and resolve the underlying fault on the same visit in most cases.
For upright freezers and chest freezer units defrosting more often than expected, the fault commonly traces to a door seal that no longer closes fully, or a drainage hose that is partially blocked. Both are straightforward repairs when caught early.
If your air conditioner has also been struggling this season, 3 reasons why you need to get your AC working properly now covers how cooling and humidity interact in Ontario homes.
Frequently asked questions
How often should I defrost my chest freezer?
Defrost when ice buildup reaches ¼ to ½ inch thick. For most Ontario households that means every one to two months. Chest freezer models accumulate frost more slowly than upright freezers because they hold cold air better when the freezer door opens. Frequent opening or storing warm food shortens the cycle.
How do I defrost a freezer quickly?
Place a bowl of hot water inside the freezer and keep the freezer door fully open. A fan near the open door circulates warm air and speeds up the melting process. With light frost, this cuts defrosting time to 90 minutes or less. Avoid a hair dryer — the electrical hazard in a wet enclosed space is not worth the time saved.
Is an ice pick safe to remove ice build up?
No. An ice pick or any sharp object used on ice build up risks puncturing the plastic liner and damaging the freezer walls. Use a plastic scraper only and let warm water and airflow do the work. A punctured liner typically costs more to repair than the appliance is worth — replacement becomes the only option.
What causes frost build up to return quickly after manual defrosting?
Recurring frost build up after a complete defrost usually means a failed defrost heater, thermostat, or timer. A worn door gasket that lets warm, moist air enter on every cycle is also common. If frost returns within two to three weeks, book a diagnostic visit rather than repeating the defrost cycle again.
About Toronto Appliance Repair
Toronto Appliance Repair serves Ontario homeowners with refrigerator repair, freezer service, washer and dryer repair, dishwasher repair, and full appliance service across Toronto and surrounding areas.
Certified technicians diagnose the exact fault on the same visit, carry common replacement parts for major brands, and provide upfront pricing before any work begins. No hidden fees.
For owners of smaller units, the guide on what to do when a mini fridge stops working covers many of the same defrost patterns as full-size refrigerators but on shorter service cycles.
Book a refrigerator repair service with Toronto Appliance Repairs for honest, same-day diagnosis across Toronto.
Service area
Toronto Appliance Repairs provides refrigerator repair and full appliance service across Toronto and surrounding municipalities, including North York, East York, Scarborough, Etobicoke, Mississauga, Richmond Hill, and Markham.
Contact Toronto Appliance Repairs to confirm same-day availability in your area before booking.
Next step
Book a refrigerator repair service with Toronto Appliance Repairs today.
A technician arrives with the parts most likely needed, diagnoses the exact fault on the same visit, and confirms a repair quote before any work begins. No hidden fees.
For a full list of appliance repair services across Toronto and surrounding areas, visit Toronto Appliance Repairs services.