My Washer Likes to Dance — Should I Be Worried?
If you’ve owned a washing machine for a considerable period of time, chances are you may have seen it look as if it moved itself from one spot to another while you weren’t looking. You may have also heard it make loud banging noises in the basement at certain moments during a wash. Perhaps you’ve even caught it in the act of pursuing its dancing dreams across the bathroom floor.
While it may seem like it, this is neither a magic trick nor a scene from a horror movie. Your washer most certainly didn’t gain sentience just to dance and scare you. However, the machine may have developed jitter issues, causing it to make unnecessary vibrations when left unattended.
Most of the time you can do the fixing by yourself — but before you do, you need to find out what caused it.
What’s the Problem?
Your washer exerts tremendous amounts of effort as it washes your clothes. This causes the unit to shake, sometimes creating vibrations strong enough that it wiggles its way to another spot. While this may seem normal and merely a noise issue, it isn’t and is definitely a sign that something’s wrong with it.
Left unchecked, the washer may start banging itself on the walls while it’s operating. This can cause spills and create potential hazards for you and your family. What may have started out as a minor issue can also take a toll on your electricity bills.
Nip it in the bud by knowing the root of your washer’s dancing problem. This includes:
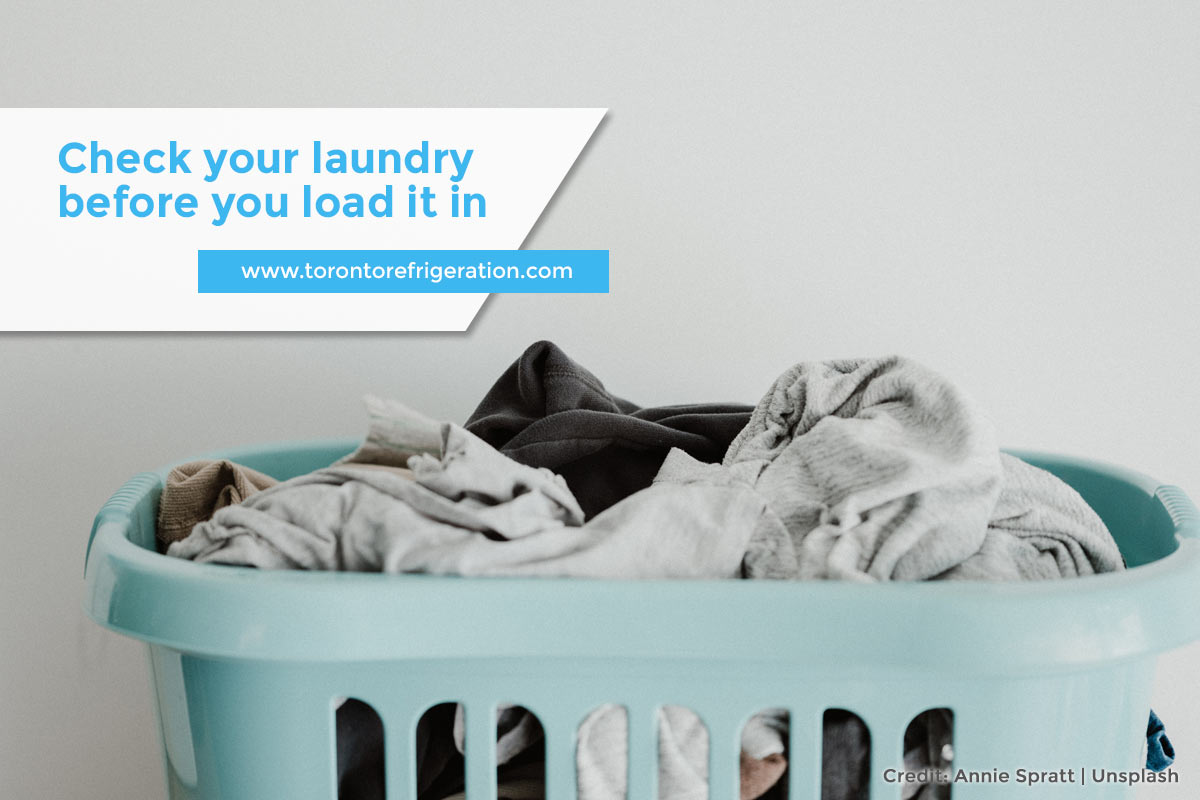
- Wash Loads – It’s a common laundry mistake to just put all your clothes, and wash them in one go without a second thought. An uneven load distribution puts more weight on one side of your washer, causing it to rock like a seesaw on its diagonally opposing feet.
- Levelling Legs – Your washing machine’s legs might be missing a part, or worse, your machine has a missing leg. Like uneven loads, a damaged or missing levelling leg can cause your washer to shimmy and shake.
- Shock Absorber – A faulty or missing shock absorber means that your washer lacks that extra protection from…well, shocks. Without a shock absorber, your washing machine is prone to more bouts of strong, unregulated vibrations, which could cause water spills and physical damage to the unit itself.
- Springs – Your washing machine has a variety of springs in it: tub spring, counterbalance spring, and suspension spring. During the spin cycle, these springs absorb the vibration of the wash basket by suspending the tub assembly from the cabinet and stabilizing the tub assembly to the washer base. There are times when one or more springs, most commonly the suspension spring, do not work properly (due to stretching, or damages), or are missing completely from the machine (detached due to washing force). At the least, this can lead to noisy washing; a more serious problem is the uncontrollable dancing.

- Laundry Area – Sometimes it’s an external problem. Your floor, not the machine’s legs, may be uneven. Another possible culprit is a wet floor, especially if your washing machine is in the bathroom. This might be due to leaks in the washer, the drain backing up, or moisture accumulation due to exhaust-venting if your dryer is in the same area as your washer.
What If I Ignore This?

Need a reason to have it repaired? Here’s why:
- Inadequate or incomplete washing cycles – Broken or missing parts prevent your washer from performing at its best since it takes longer for the machine to complete a wash cycle. Sometimes, it may not complete the washing at all.
- Higher bills – Extended wash cycles will require more energy usage, increasing the charges on your electric bill.
- Accelerated deterioration – The longer you let the problem be, the faster your washing machine degrades. This means you’ll still have to have it fixed, albeit at a higher cost. Worst case scenario: you’ll need to buy a new one because you did not expect to buy a replacement, at least until after the estimated lifespan of your washer has ended.
- Safety hazards – The more dangerous consequence of unresolved washer issues is the safety hazards they pose to the household. This is an even more cause for concern when you have children or elderly individuals living with you. Allowing a broken machine to continuously spill and spew soapy liquid makes for wet, slippery floors that may cause accidents. Additionally, when spills reach the machine’s wiring, it could result in electrocution or a house fire.
Is There a Way to Make It Stop?
The answer is a conditional yes — there is a simple manner to handling the dancing washer conundrum, if and only if the problem is concerned with levelling. For detached parts, you are advised to look for that missing spring or rod before deciding to buy a replacement. Broken parts warrant a call to your appliance technician for a consultation and/or repair.
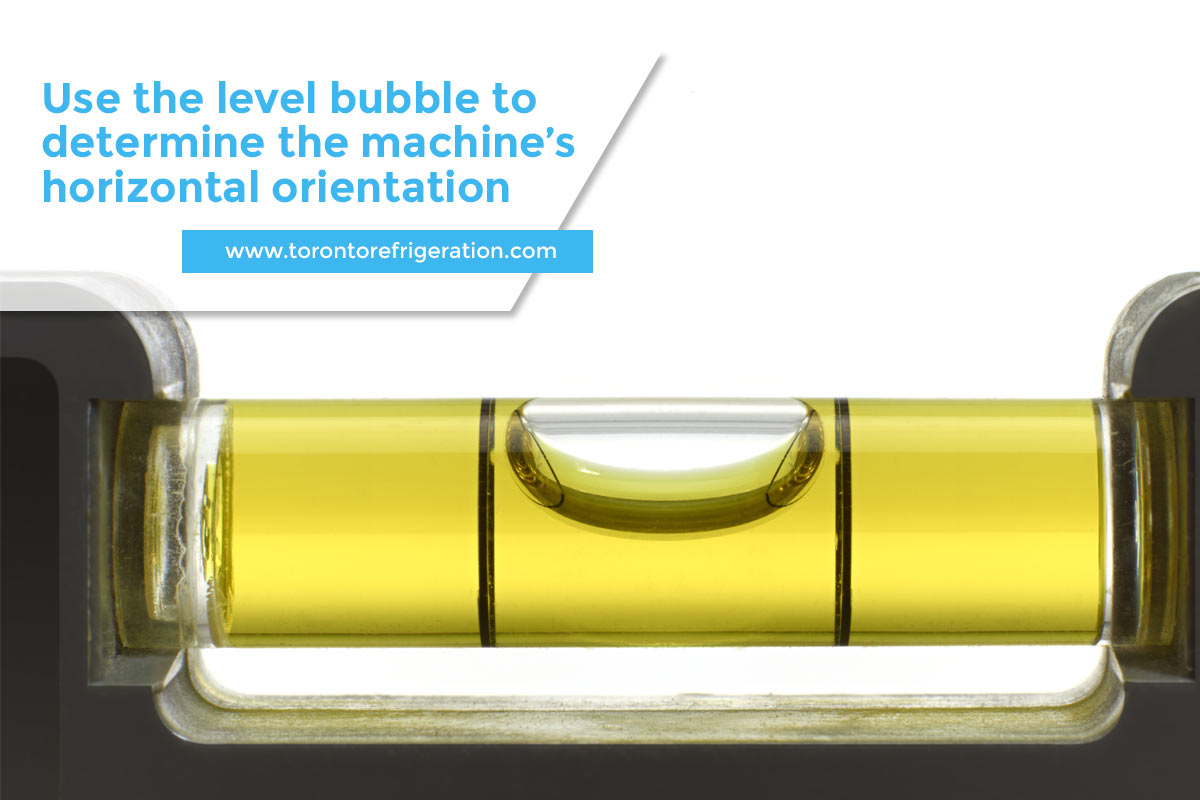
If upon closer inspection, you determine that the fault lies in the levelling of a foot or your floor, here are a few things you can do to remedy this by yourself. All you need is a level, a pair of pliers, and the knowledge in using both tools.
1.Unplug and unload your washer. Avoid any untoward electrocution or fire hazard. Put some clothes in the washer, and distribute them evenly so you have a basis on the load distribution of your machine.
2.Put the level on the washer’s centre top in a horizontal orientation. As it sways side to side, check if the bubble is at the ideal level. Bubble on the left means the right side is heavier; bubble on the right means the left side is heavier.
3.Reset the level, and orient it vertically. This is to determine the leveling from front to back. Bubble going backwards means the front is too high; bubble going forward means the back is too high. Take note of the level details.
4.Adjust the back feet. Presumably, your washer is up against the wall during level measurement, so you need to pull it away for you to have space to work on the back legs. Release the locking nut that holds the foot in place by turning it with your pliers counterclockwise. Put the pliers on the foot once the nut is loose. Turn the pliers counterclockwise to lower the washer; clockwise, to raise it. Do this on both back feet.
5.Recheck the level of the back feet. Place the level on the top centre of the washer, on the side closest to the back feet. Readjust the feet as needed, and tighten the nuts when you determine that the feet are level.
6.Repeat steps 4 and 5 to the front feet. Make all necessary adjustments.
7.Push the washer back to the wall. Perform the level checks one more time, in both horizontal and vertical orientations. Make sure that the bubble isn’t tilting in a particular direction anymore.
8.Test run your washer. Put in a new batch of clothes, and run a complete wash cycle. Observe if the washing machine has stopped skidding, or vibrating violently.
Remember to perform the procedure with a buddy, preferably an adult who can lift heavy loads, and is equally familiar with DIY repair work. If you are successful, make sure to maintain your washer in good working condition so you can enjoy your machine to its full benefit.

There’s only so much that you can do by yourself. If you want to preserve your washer or let it return to its original level of performance, leave it to the professionals. They have the necessary skills, tools, and experience to deal with more sensitive internal parts.
If your machine is in dire need of repairs, give Toronto Appliance Repairs a call. Dial 416-918-2700 and get a consultation FREE OF CHARGE!