How to Deep Clean Your Fridge

Cleaning up is always an important part of taking care of the house, but some places often get more attention than others. The fridge is one of the most overlooked appliances. Many homeowners assume that because food is kept cold or rotated through, the fridge stays clean. However, the truth is that spills, splashes, and cross-contamination can seriously affect conditions inside the fridge. To avoid the spread of any germs and prolong your fridge’s lifespan, it’s vital you take the time to perform regular deep cleanings of the fridge to look after your food.

Preparing for the Purge
Cleaning the fridge can be a soggy, smelly chore, but there are some things you can do to prepare for it. It doesn’t take many specialty products to do the work, but gathering the right materials ahead of time can help streamline your job and cut down on the ick-factor. Some of the things that can help with your clean-out include:
- Trash bags
- Rubber gloves
- A cooler
- Cleaning solution
- Cleaning pads, sponges, rags, and paper towels
- Microfiber cloths
Once you have all you need to work, you can start tackling the task of deep cleaning the fridge properly. Here are a few fridge cleaning hacks that can help you give your fridge a top-down, inside-out cleanup.
![]()
1.Remove everything first
Start by removing all the items from the fridge to get them away. Set aside an empty space to make it easier to assess what you’re sorting. In the case of perishable items like milk or raw meat, use your cooler to store them while you work to avoid spoilage. Some foods can take being out of the fridge for a while, but it’s a good idea to work quickly. Food can reach the danger zone in a short amount of time. Ideally, pick a time when your food levels are low so you have fewer items to move around (e.g. before your weekly shopping trip).

2.Triage the contents of your fridge
Once you’ve taken everything out, assess your food items to find out which ones have reached their expiration date. Keep an eye out for signs that the food has spoiled like mould or rotting. These foods have clearly gone bad and need to go. Gloves can help make the job much easier, so put them on if you have to touch anything suspect. While you’re at it, this is also a good time to throw out anything that you’re unlikely to eat. For example, if you’ve got some leftover olives from your last party, but no one in the house fancies olives, that should go too. Finally, make a habit of doing deep cleaning at least every quarter. These fridge cleaning sessions are a golden opportunity to find and deal with any items you may have forgotten about since you put them there.
3.Clean the shelves and drawers
Once you’ve removed and appraised the food, it’s the shelves’ and drawers’ turn. Take out any removable surface areas and place them near the sink for ease of cleaning. Many of those shelves are small enough to fit in the sink, so cleaning should be easy. Be prepared to clean the shelves by hand, as the dishwasher isn’t suited to cleaning them. Before taking those shelves out, check the fridge’s user manual first. The manual not only tells you how to remove them without breaking them, but it also tells you how to put them back in when you’re done. If you have any glass shelves, let them come up to room temperature first before using hot water to remove any heavy-duty stains.
4.Wipe the interior thoroughly
After taking care of the shelves, take care of the fridge’s interior. Make a mixture of water and baking soda to remove stains. This mixture also helps clean up the interior without leaving any strong smells that the food can absorb once you’ve put them back in. When cleaning, use a reusable cleaning rag instead of paper towels to cut down on waste. Pay especially close attention to the grooves on the sides where the shelves rest; these areas are often hotspots for dirt. Use a cotton bud to reach into those nooks and crannies to dig out any old food. For extra stubborn stains, use a dab of white toothpaste. It works as an abrasive cleaner, and the smell can freshen up the fridge interior. When you’re done, dry off the interior thoroughly with paper towels or clean drying cloth.

5.Clean the outer surfaces
After you’re done with the interior, take the time to clean the outer surfaces as well, specifically the handle and door surround. These areas come into frequent contact with people’s hands, so germs can flourish if left unchecked. Wipe the doors with a cloth dampened with mild soap and water. For stainless steel exteriors, use commercial stainless spray and wipe in the direction of the grain. Dry afterward to prevent streaking. If your fridge freezer is located at the bottom, use a vacuum cleaner’s crevice nozzle to remove any food crumbs that have collected in the folds of the freezer door seal.
6.Dust the condenser coils as well
The condenser coils are there to dissipate heat from the fridge to keep the interior cool. Over time, the coils can become covered in dust, hair, and debris, which can keep the fridge from cooling properly and force the coils to work harder. The coils are usually located at the back, but some models have them placed under or on top of the unit. Unplug the fridge first to ensure you can work safely. Use a coil brush to gently remove dirt and debris from the coils. Then use a vacuum with an attached brush to clean up any remaining dust.
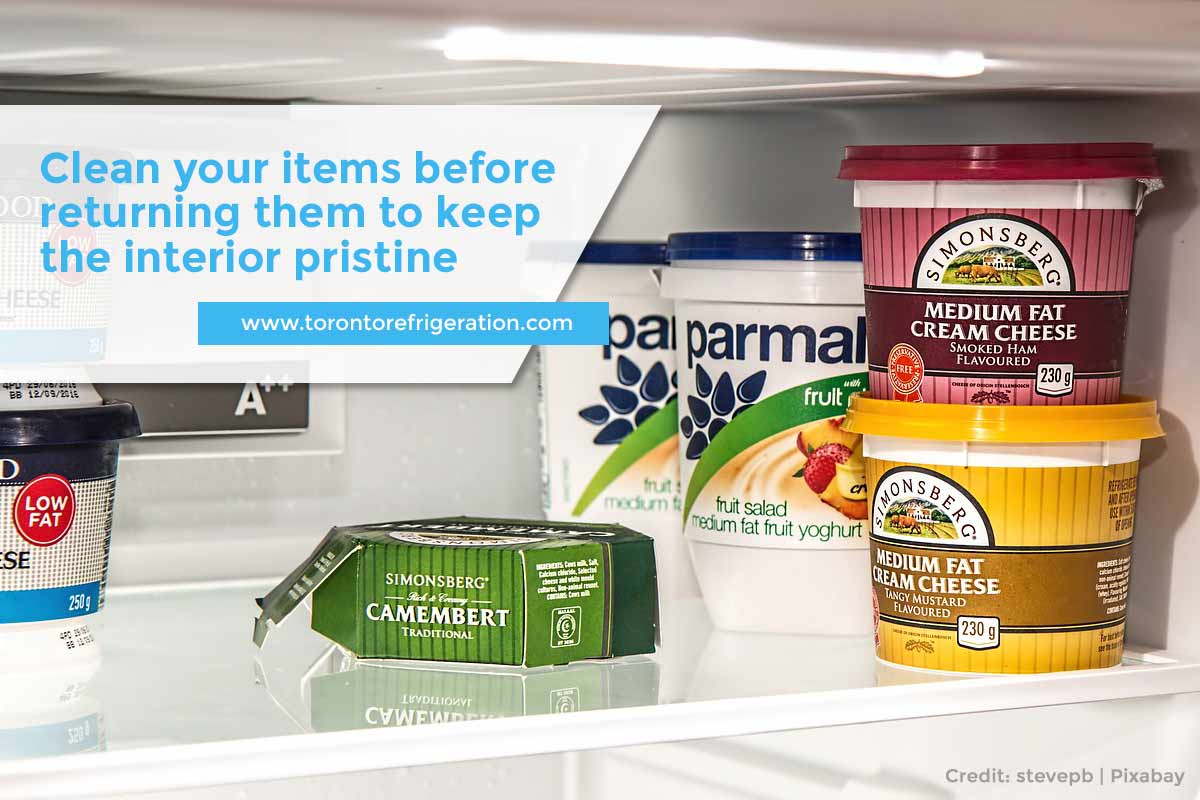
7.Clean items before returning them
After deep cleaning the fridge, the last thing you need to do is clean your food items before putting them back in. You’ve just cleaned the fridge, so the last thing you want is to put dirty jars and bottles back in. Before returning anything, double-check to make sure they’re clean. Even if they don’t appear dirty, it’s usually a good idea to give the bottom a quick wipe with a damp microfiber cloth, especially if the shelf was sticky when you cleaned it. If the bottles and jars have some accumulated dirt, wash them under warm water then wipe and dry them off.
After you’re done taking care of deep cleaning, make a habit of cleaning your fridge regularly. Maintaining routine cleaning is a great way to solve food odours and prevent leftover build-up. Keeping a clean fridge also goes a long way toward minimizing the need for deep cleaning, allowing you to maintain a clean, germ-free interior more consistently.
At Toronto Appliance Repairs, we’re here to lend a helping hand whenever you need some assistance with your appliances. Whether it’s repairs or preventive maintenance, we offer 24/7 emergency services to provide the help you need when you need it. Give us a call now at (416) 918-2700 for a free consultation.